Silver Pendant Workshop
April 20th & 24th, 2018
Moscow
Through AFOSA (Air Force Officer Spouses Association) I had another unique opportunity to participate in a silver jewelry workshop. I chose to make a pendant for a necklace, but we could have also made earrings. Since I already had a couple pairs of silver earrings, I chose the pendant.
The workshop is offered by Reineke (a Dutch Expat from The Netherlands living in Moscow). Her website is: dutchjewellerycreations.com
She started creating in 2005 in Houston, Texas and continued to gain valuable skills in the US, Russia, The Netherlands, Dubai and Singapore.
Today we worked with PMC (Precious Metal Clay) which consists of microscopic particles of silver mixed with a moist binder and water to create a material that has the feeling and working properties of modelling clay. Once fired at a very high temperature, the binder and water burn off and the result is a piece of pure silver (99.9%).
We all started off with a short lesson about working with PMC and how the workshop would go. I brought along some pictures for inspiration, but some were way too advanced and Reineke was correct in saying that in the creative process our ideas would evolve. I ended up doing something very different from the ideas I started out with.
I was SO involved in the creative process at first that I totally forgot to take any photographs, so the photos only start after we played around with Plasticine. We had all sorts of shapes and textures to play with and it was an evolving process. Some decided on their ideas much faster than others, but in the end, we all managed to complete our projects to the point where they were ready to be fired in the kiln.
Steps in our workshop:
1. Work with Plasticine to try different shapes and patterns to see what we do and don't like.
2. Using all the tools provided and working with the Plasticine as if it were the PMC we finalize our design and get ready to make the final product!
3. Open up the PMC packet and start folding it over onto itself (like dough) within the plastic covering until it is a bit shiny and no longer sticks to the plastic. Reineke inspected it to tell us when it was ready and then we'd roll it into a ball where she again would check to be sure it wasn't dried out (cracked). Once it was "just right" we would roll it out using our tools, imprint whatever pattern we wanted on it (if any) and cut out the shape. You don't have to use any pattern and you can cut out the shape freehand if you are talented, but I used both a texture and the Plasticine jar as my shape.
4. Once you have the shape as you want it to be you dry it (we used a hot plate and a hair dryer). Funny things started happening to mine and the once flat shape began to bend a bit, but I rather liked it that way.
5. Once it's dry enough, you sand down the rough edges so everything is nice and smooth.
6. Once all is smooth you then have to add your "bail" (the part that the chain will go into to make it a necklace). You add this using a paste Reineke made from the silver dust. Using a toothpick we added a small amount of paste under the bail edges and then covered the edges with more paste.
7. Once the bail is secured, we again heat it to dry the paste. For Tanja & Gillian who used layered pieces they used this paste to secure one piece to the other and dried that also before putting on the bail.
9. After the bail paste is dry (using the hot plate) we then sanded down any rough edges and if there were gaps you fill them in and put it back on the hot plate.
10. The product is done, now all we have to do is have Reineke fire it up in the kiln for us.
11. The final step after the kiln is to polish the finished piece (because it comes out of the kiln as white) and voila, you have your own jewelry!
 |
| The first picture I remembered to take of the group. It was WAY into the process... I think maybe 2 hours into the 3 hour workshop. You can see my two pink, round shapes... I was going to go really big with my pendant, but decided that was too much and went with the smaller version. |
 |
| Tanja's photo from the plasticine stage. |
 |
| Another one of Tanja's photos from our creative stage in the process. |
 |
| Since we were all very involved in and concentrating on making our creations, this was the next picture after the pieces were already created and then we started drying them on these Teflon sheets. |
 |
| Some of our shapes and patterns we had to choose from for our creations. |
 |
| Some of our tools. The ruler was to show us how much the piece would shrink after being dried in the kiln. The Badger Balm was used on the stamps and our hands to keep the product from sticking. The PMC is the packaging for the clay we used. Lastly is the Plasticine and the stamp I used for my piece. |
 |
| More tools... the 3 sandpaper sponges from course to fine (left to right), the grey rectangles are the tools used in conjunction with the white roller to roll out the clay to a consistent thickness. Finally, the exacto knife and my stamp. |
 |
| Gillian is still smiling, that's a good sign! That's probably because she was in the final stages! |
 |
| Gillian & Kersti working diligently on their creations |
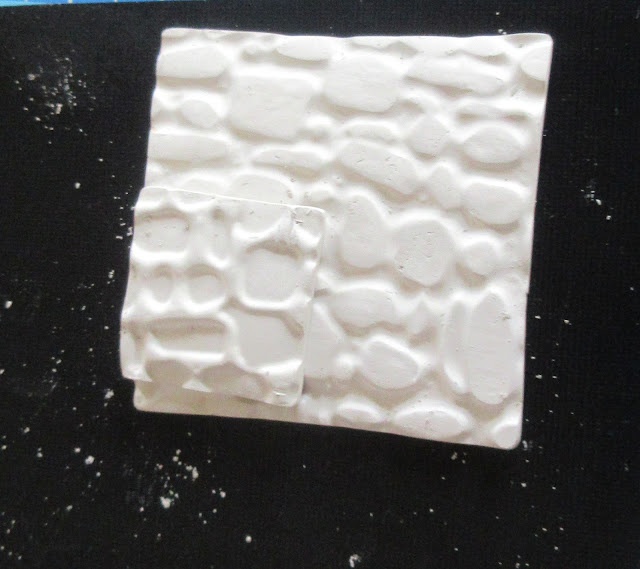 |
| Tanja's (from Finland) near-finished, two-layered pendant |
 |
| Gillian's (from England) near-finished, two-layered pendant |
 |
| One of Kersti's (from Norway) near-finished earrings in a convexed round shape |
 |
| Anna's (Slovak Republic) near-finished round pendant |
 |
| My (from Canada) near-finished round pendant. When I used the Plasticine container to cut the shape I didn't get a clean edge, so I had to leave it like that until it was dry and then sand off the rough edges. I also somehow ended up with a wee bit of Plasticine on the bottom right and had to sand that out too. |
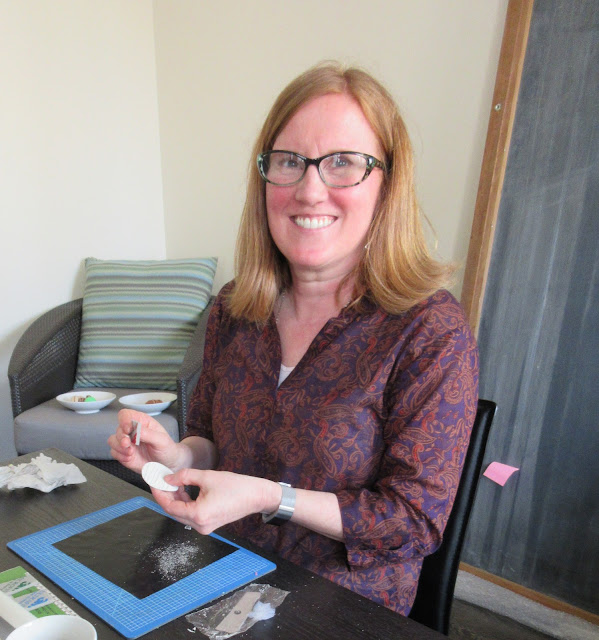 |
| I enjoyed the sanding process... making the very rough product nice and smooth. |
 |
| Why are you two looking at me sand my piece? lol They knew the picture was being taken, I didn't. |
 |
| A beautiful piece of art in Reineke's apartment. She didn't make this one though, it's from Myanmar |
 |
| Reineke made this surfer (I think in bronze?) |
 |
| Another one of Reineke's creations... Amazing talent! |
 |
| Naked yoga girl... another creation by Reineke |
 |
| And finally, Reineke's ballerina |
 |
| Reineke hard at work drilling the holes in Kersti's earrings |
 |
| Tricky, tricky... I was holding my breath when she was doing this... I didn't want it to break and Kersti to have to start all over again! |
 |
| The back of Gillian's showing the "bail". Its difficult to make that really tidy I found. |
 |
| Gillian helping Anna by doing her bail back |
 |
| Although it's the back and doesn't really matter, it was bothering me a little (perfectionist - sometimes) that the paste holding my bail back on wasn't "perfect" |
 |
| The paste used to "glue" two pieces together or put the bail back on |
 |
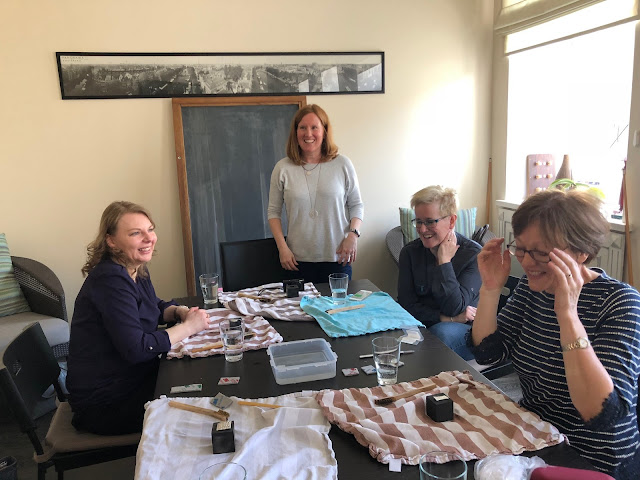
| The group proudly displaying their new creations |
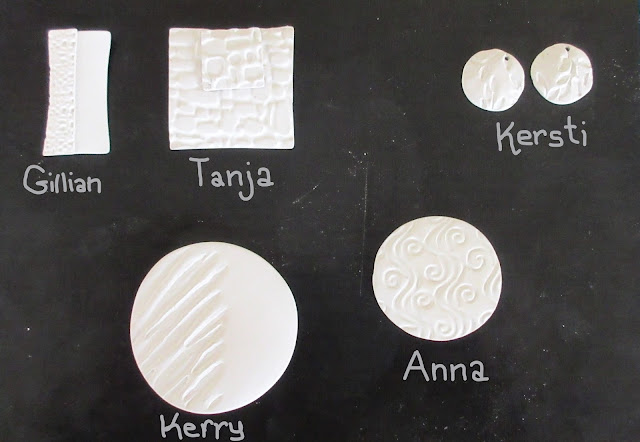 |
| A close up of our creations before going into the kiln. We're all very excited to see the finished product! |
 |
| Tanja's fresh out of the kiln (still white) and ready to polish to a shiny silver! |
 |
| Anna's ready for polishing |
 |
| Mine ready for polishing |
 |
| Kersti's ready for polishing |
 |
| Gillian's ready for polishing |
 |
| Polishing until all the white is off with a wire brush and then a plastic tool. You could also make it a matte finish by using fine sandpaper. This was a really simple stage that just takes a few minutes. |
 |
| Kersti looking good with her new earrings! |
 |
| In the final stages of polishing and shopping for other items Reineke had for sale. |
 |
| Gillian's finished necklace with new chain. |
 |
| Tanja's finished necklace with new cord. |
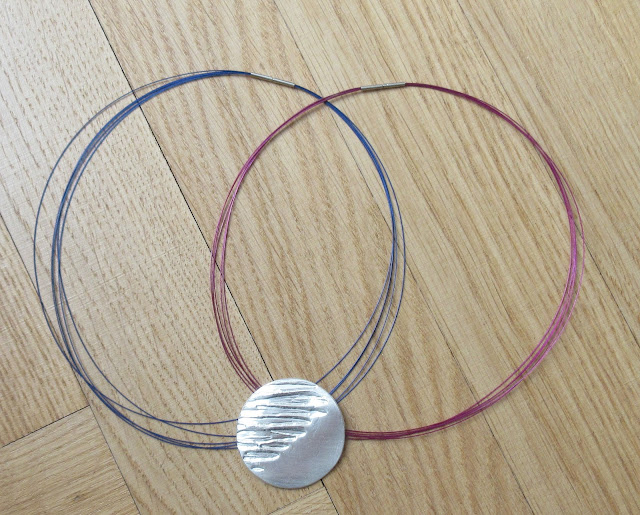 |
| My new necklace with choice of purple or navy cord. |
 |
| Tanja's photo at the end with all of us showing off our beautiful new creations. |
 |
| Mine up close |
 |
| Gillian's up close |
 |
| Kersti's up close |
 |
| Anna's up close |
 |
| Tanja's up close |
I highly recommend trying this workshop. Here in Moscow or any other place it's offered. It was fun and I would definitely do it again!


